lördag, april 29, 2006

Day 4 constructing: Last assembling and "dry" testing...

So.. time for the last assembling of the lamp after letting everything dry for a few days....

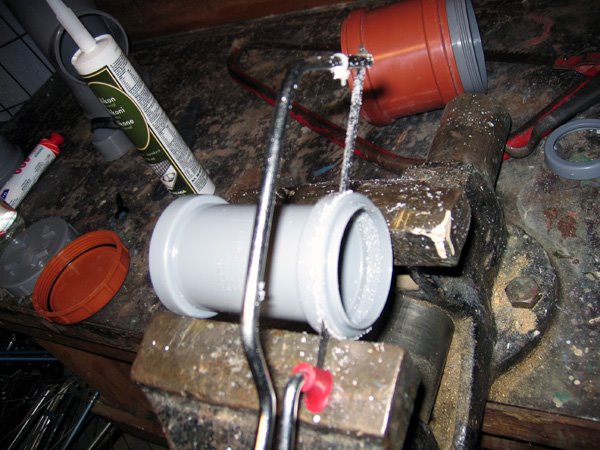
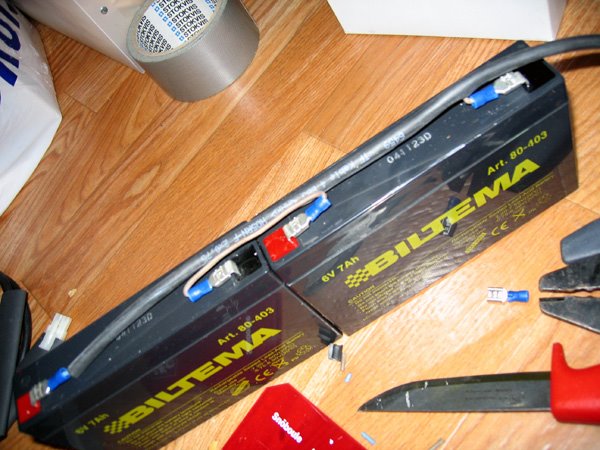
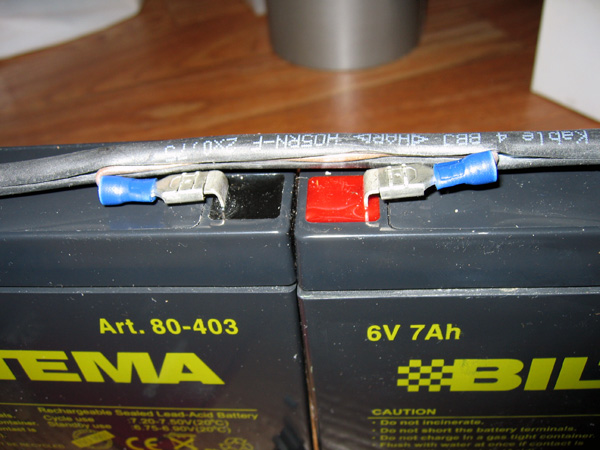
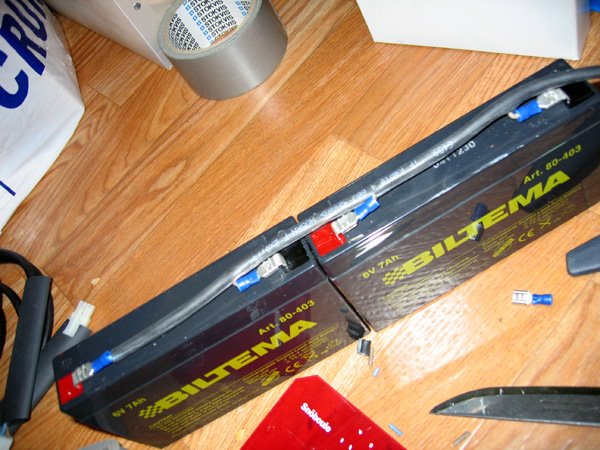
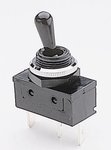
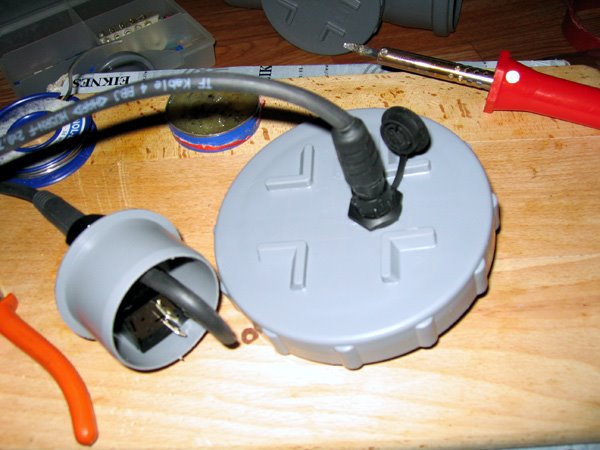
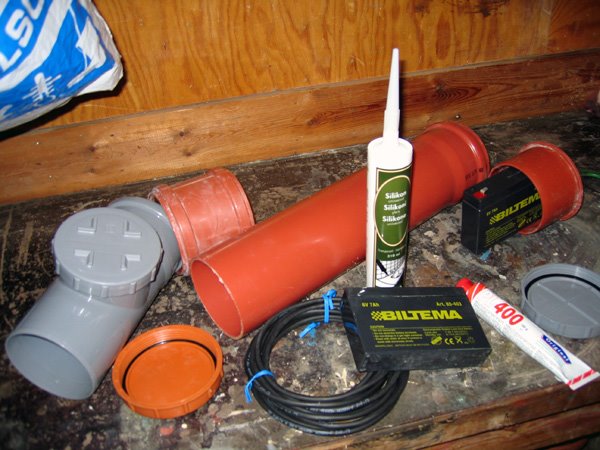
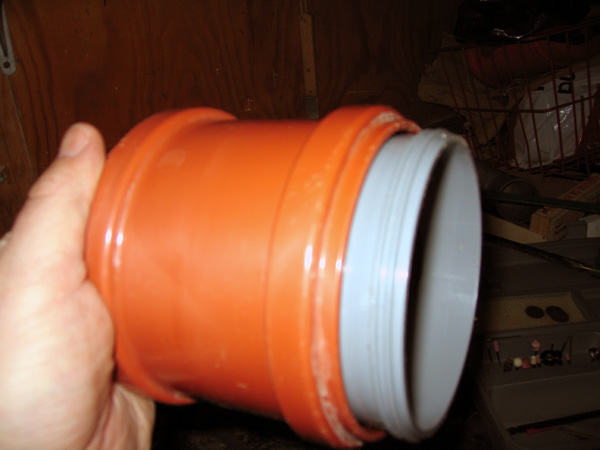
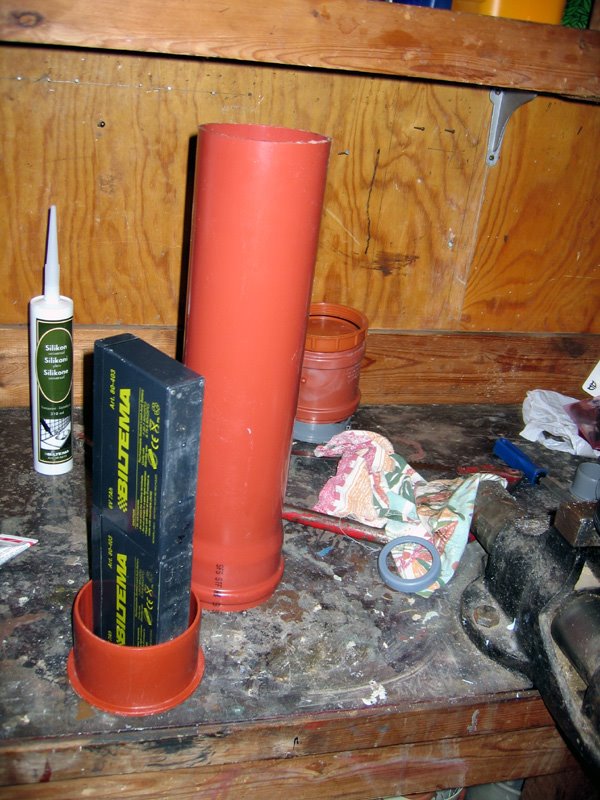
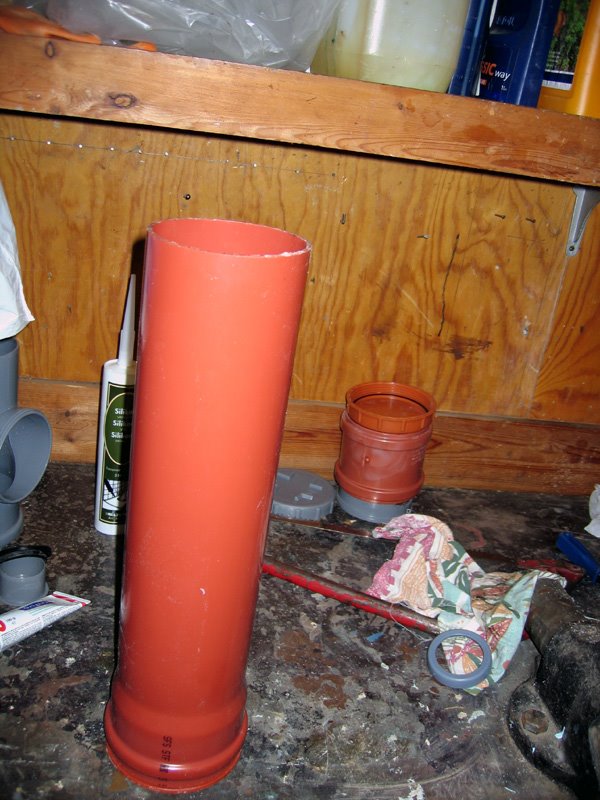
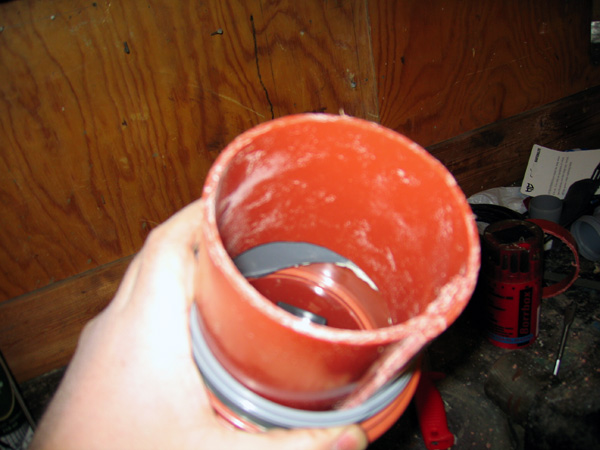
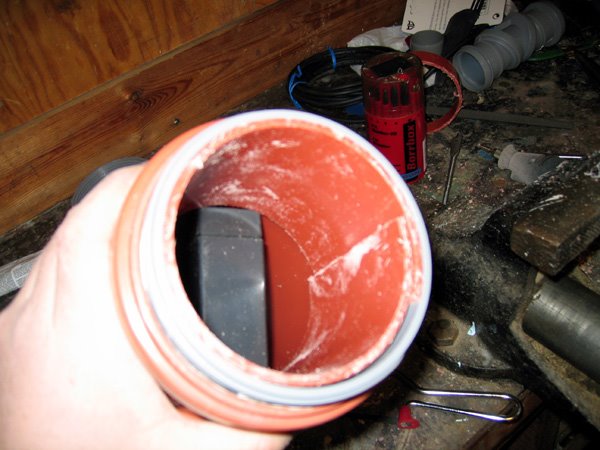
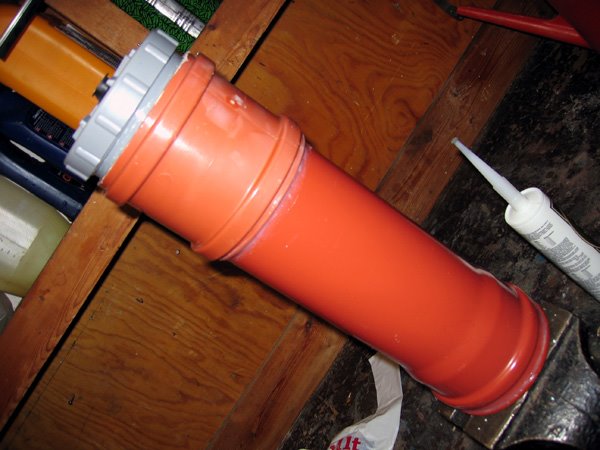
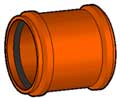
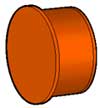
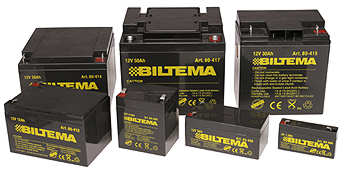
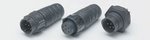
First thing to do is to connect the battery inside the canister to the cable and then put the lid on to the canister... First and second picture.... You can aslo see tha lamp-head in these pictures...


Here I have made my own good-man-grip out of half a ice-scraper, red one (yes thats right... I got it from my car... :) which I made some holes in it, cable-collecting black wide strap from IKEA (the one that connects the red ice-scraper with the lamp) and then rubber-band to keep my hand attached to it... see. very simple... ;) and it works really good..


After that I turned it on and it was really shining.... :) But I just had it on for a few seconds at a time... It gets really warm out of the water... I even put the lamp-head in the zink filled with water to try if it was leaking or not and it seemed to work... Tha battery caninster is to big for me to test for leaking in my small 1-room flat... got no bath-tub.. :)


So this week-end coming up I will try it out while diving... It's gonna be really fun to see how it works.... If it keep water out and so on... I will get back with photos from my "virgin" dive with the lamp... :)

Wish me luck...

fredag, april 28, 2006

Day 3 constructing: Rest of lamp house + Sealing parts

First thing to do is cut of one end of the 50mm double "muff" to make it possible to fit the glass in to it (left pic)... after that i took the ring from the pipe in the right hand picture... (you see it below the pipe)...


Then it was to glue the glass to the lamp house and after 2 hours or so I put silicon in between the housing and the glass too to make it even better and totally (hopefully ;) sealed...


After this I glued an edge on to it to make it look a bit professional... ;) plus added even more silicon between glass and the edge... to make sure it was sealed... i.e. waterproof.. :)

Here is the lid/back of the lamp house where the cable connector and the swithc has beed seeled with silicon...


In this picture you can see that I have changed the lid to the canister (the batteries) to the brown one becouse it has a better seal inside the lid... (i think so anyway)


And now you can all the things I glued and sealed tonight.


Here is the 2 battery that I put together tonight with the cables. I "pealed" the cable to make it possible to use the outer rubber tube to make it a nice and "clean" where I conseal the cables to make it look like it all made out of one cable...


This picture shows how I had to serial-connect the batteries to make the two 6V batteries become 12V.


Here is the result and after this I put the silvertape on top tp keep the batteries together and to be cautious about the cables.


Now you can see the battery fitted inside the canister with the cables and to the right you can see the "new" brown lid..


>>> Next thing is to put it all together and try the lamp... but remember... the lamp will get really warm on land.. so if you try it out outside water... just do it for a few seconds... ;)

onsdag, april 26, 2006

Day 2 constructing: Connect cable to lamp housing


So now when I am sort of done with canister I could continue with connecting the cable and switch to the mal housing. The parts I needed for this was:

Bottom to the 50 mm pipe


The switch

The rubber top to the switch


The cable connector


And the cable


First thing I needed to do was to calculate where to drill the holes for the connector and the switch. The switch quite big so i had to grind it down to make it fit (the white cirkles)...


So I decided to draw the schematics over the back of the housing, especially the inside diameter to be able to fit both the connector and the switch.


Here is the result. If I had put the holes closer together I wouldn´t have been to be able to put them there... This was the minimum of distance between them... puh... ;)


Inside where i you see the cable coming through and connect to the back of the switch.


From the side.


Both parts of the cable... the back of the lamp housing and lid to the canister...


Now all connected...


Next thing I will do is to glue the glass into the housing of the lamp and probably the cable fom the battery plus fit the battery in the canister.

And after that.... Put it together and try it out in the water.... :D

Day 1 constructing: The Canister/Battery pack

The first thing I started on was the battery pack/canister because I had all the parts for it.


The first thing I did was to cut off the lid and its thread to be able to have a lid to take off.. so it will be easy to charge the batteries...


Next 2 pics shows how the thread are mounted in the top oc hte canister.


Same but with the lid in place.


Here you can see how the batteries will be mounted inside the canister.... The batteries will be taped together when I have done all the wiring of them...


After this I cut the pipe to the correct length (35 cm for me).


Here you can see how I have put together the bottom of the canister with top with its threads adn are trying out the battery "stopper" (a piece of the left over pipe that cut on the length to be able to make it flexible to squeese in to the pipe...)


Now you can see how the battery "stopper" is in place and also you can see the top of the battery too...


First step to fix the lid is to grined it to make a smooth inside so it is possible to drill the hole where the connector for the cable will fit...


To make it possible to connect/re-connect the contact in the lid I had to modify this contact:

and this contact:

At this point the hole is drilled, the contact is mounted and it is now possible to connect/re-connect the lid with the cable that goes inside the canister to the batteries.


Here I am putting silicon on the glued joint to make sure they stay sealed... ;)


And voila... Here is the finished canister.. With a lid...

måndag, april 24, 2006

Battery clarifications....

I forgot to mention what type of batteries I was choosing between....

There where 3 different ones:
  1. Completly sealed Lead-batteries
    - Ok prices, but 2-3 times more expensive compared to Lead with valves
  2. Lead-batteries with valves (ventilerade in Swedish)
    - Are cheaper
    - Some info say that they can not be charged or used upside-down
  3. NiHM, Nickel Metal Hydride
    - Very expensive
    - Smaller and neater to use if you want smaller battery canister

The one I picked was nr 2, Lead-batteries with valves. Friends who are electrician think it should be OK and baggbodykaran says it is OK to use them. I trust these sources but if You want to be certain.... maybe you should use nr 1, Completly sealed Lead-batteries.

I have also corrected in my prior report the Ampere Hours for the batteries I picked... It should be a total of 7 Ah.. not 8 as I wrote before...

I will also update the picture of the chart over the batteries to show you what battery type it is... But not tonight... ;)

/jonas

söndag, april 23, 2006

All the parts

1 Lamp-head
1.1 Glass

1.2 The housing


1.3 35 W Osram IRC bulb


1.4 Bulb-connector

1.5 The back of the housing + Seal

1.6 Cable-connector + Nut + Seal

1.7 Power-switch


2 Eletricity
2.1 Cable


3 Battery-canister
3.1 Lidd

3.2 Top of the canister

3.3 Battery part of the canister

3.4 Bottom of the canister

3.5 The batteries

3.6 Cable-connectors

3.7 Battery connectors


4 Other

4.1 Glue

4.2 Silicon