Day 3 constructing: Rest of lamp house + Sealing parts
First thing to do is cut of one end of the 50mm double "muff" to make it possible to fit the glass in to it (left pic)... after that i took the ring from the pipe in the right hand picture... (you see it below the pipe)...
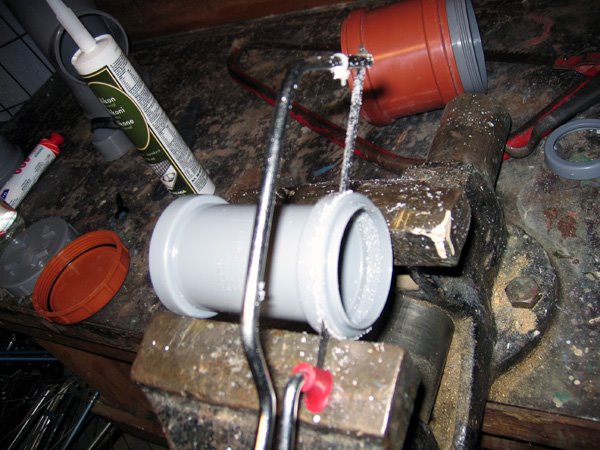

Then it was to glue the glass to the lamp house and after 2 hours or so I put silicon in between the housing and the glass too to make it even better and totally (hopefully ;) sealed...

After this I glued an edge on to it to make it look a bit professional... ;) plus added even more silicon between glass and the edge... to make sure it was sealed... i.e. waterproof.. :)
Here is the lid/back of the lamp house where the cable connector and the swithc has beed seeled with silicon...
In this picture you can see that I have changed the lid to the canister (the batteries) to the brown one becouse it has a better seal inside the lid... (i think so anyway)
And now you can all the things I glued and sealed tonight.
Here is the 2 battery that I put together tonight with the cables. I "pealed" the cable to make it possible to use the outer rubber tube to make it a nice and "clean" where I conseal the cables to make it look like it all made out of one cable...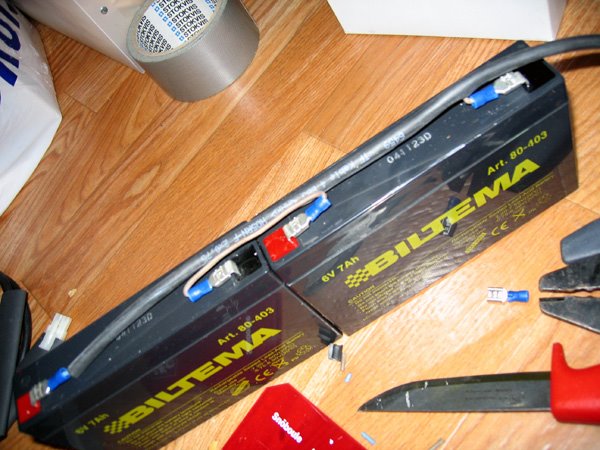
This picture shows how I had to serial-connect the batteries to make the two 6V batteries become 12V.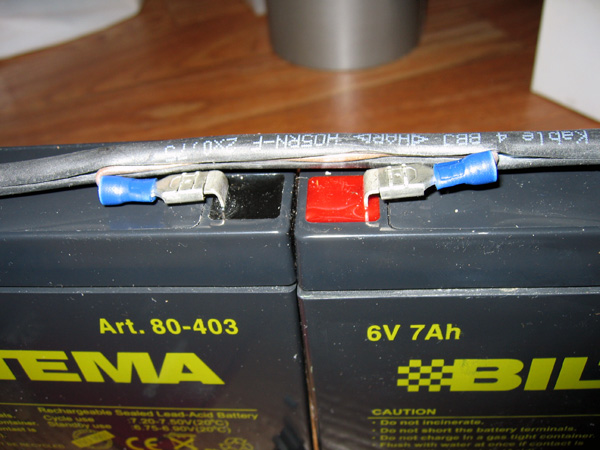
Here is the result and after this I put the silvertape on top tp keep the batteries together and to be cautious about the cables.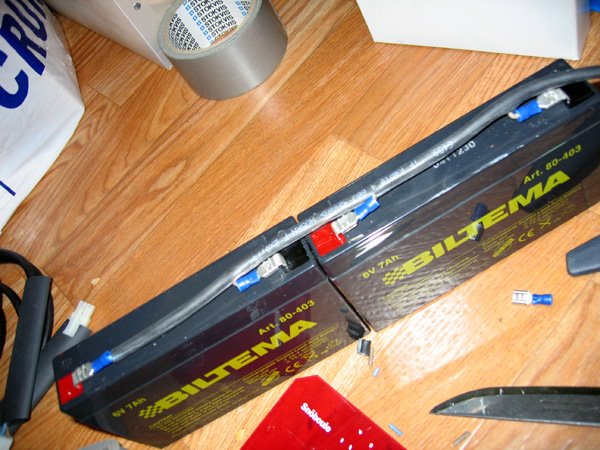
Now you can see the battery fitted inside the canister with the cables and to the right you can see the "new" brown lid..
>>> Next thing is to put it all together and try the lamp... but remember... the lamp will get really warm on land.. so if you try it out outside water... just do it for a few seconds... ;)
posted by jonas @ 9:17 em
0 comments
![]()

0 Comments:
Skicka en kommentar
<< Home