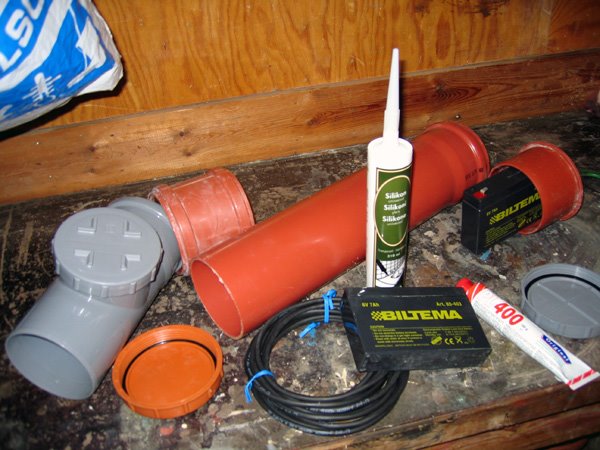
Day 1 constructing: The Canister/Battery pack
The first thing I started on was the battery pack/canister because I had all the parts for it.
The first thing I did was to cut off the lid and its thread to be able to have a lid to take off.. so it will be easy to charge the batteries...

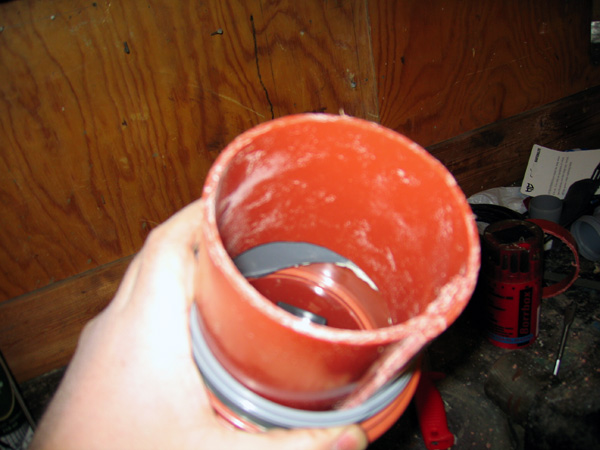
Next 2 pics shows how the thread are mounted in the top oc hte canister.

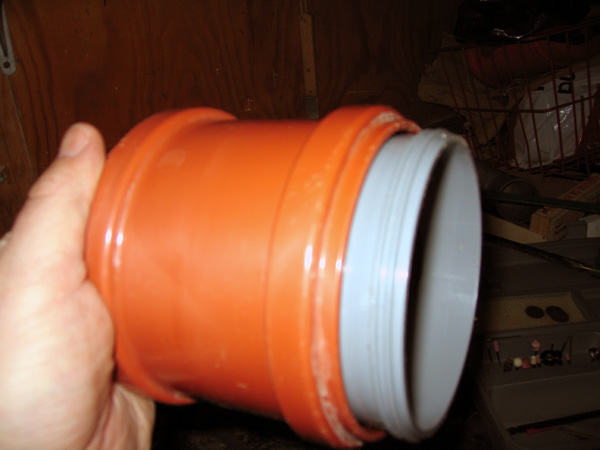
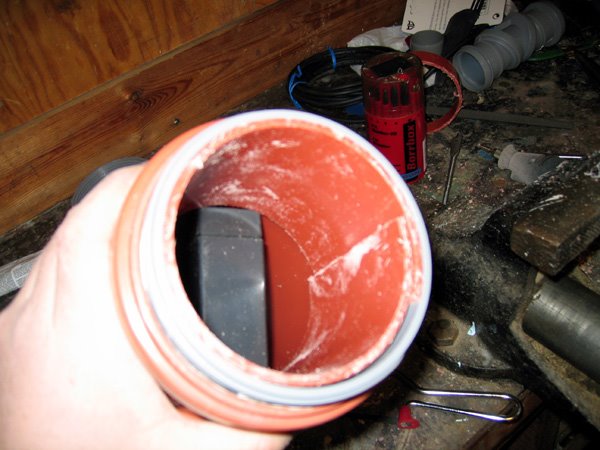
Same but with the lid in place.

Here you can see how the batteries will be mounted inside the canister.... The batteries will be taped together when I have done all the wiring of them...
After this I cut the pipe to the correct length (35 cm for me).
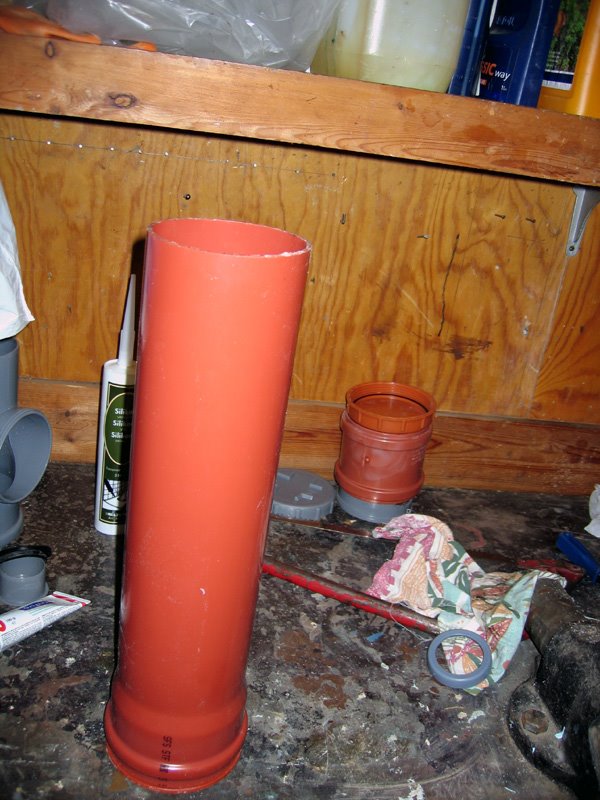
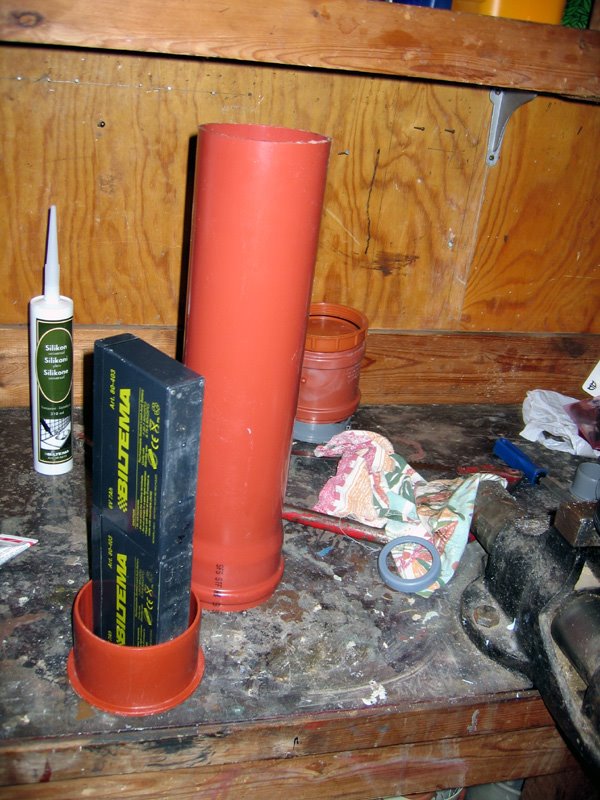
Here you can see how I have put together the bottom of the canister with top with its threads adn are trying out the battery "stopper" (a piece of the left over pipe that cut on the length to be able to make it flexible to squeese in to the pipe...)
Now you can see how the battery "stopper" is in place and also you can see the top of the battery too...
First step to fix the lid is to grined it to make a smooth inside so it is possible to drill the hole where the connector for the cable will fit...

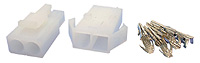
To make it possible to connect/re-connect the contact in the lid I had to modify this contact:

and this contact:
At this point the hole is drilled, the contact is mounted and it is now possible to connect/re-connect the lid with the cable that goes inside the canister to the batteries.

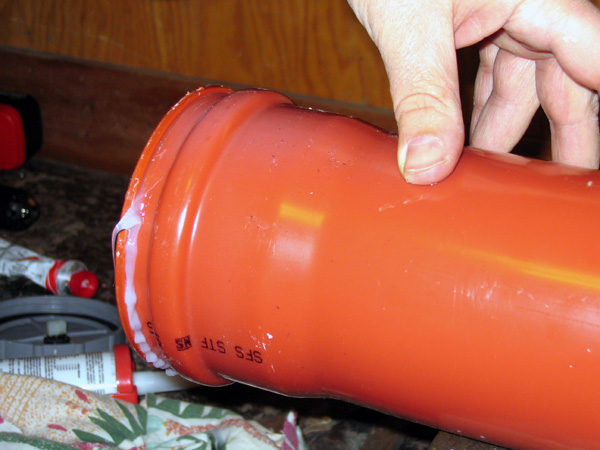
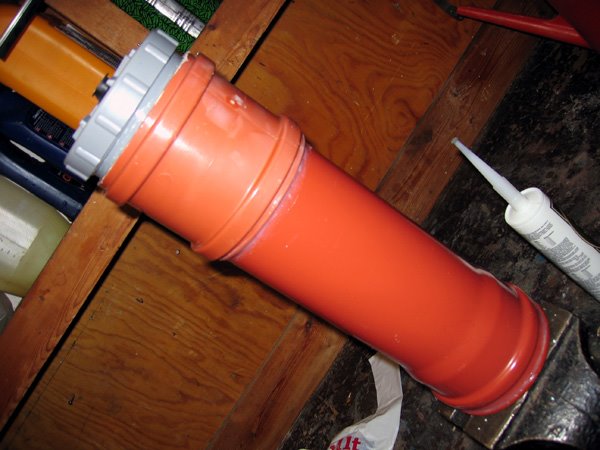
Here I am putting silicon on the glued joint to make sure they stay sealed... ;)
And voila... Here is the finished canister.. With a lid...
posted by jonas @ 12:40 fm
0 comments
![]()

0 Comments:
Skicka en kommentar
<< Home