Day 2 constructing: Connect cable to lamp housing
So now when I am sort of done with canister I could continue with connecting the cable and switch to the mal housing. The parts I needed for this was:
Bottom to the 50 mm pipe

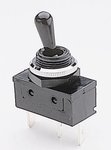
The switch
The rubber top to the switch

The cable connector

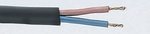
And the cable
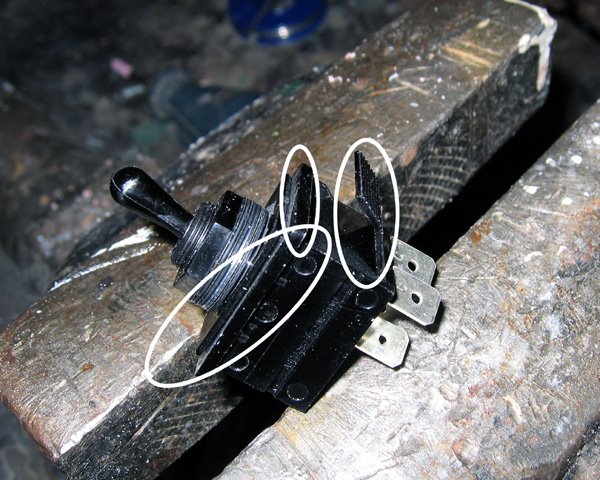
First thing I needed to do was to calculate where to drill the holes for the connector and the switch. The switch quite big so i had to grind it down to make it fit (the white cirkles)...
So I decided to draw the schematics over the back of the housing, especially the inside diameter to be able to fit both the connector and the switch.

Here is the result. If I had put the holes closer together I wouldn´t have been to be able to put them there... This was the minimum of distance between them... puh... ;)

Inside where i you see the cable coming through and connect to the back of the switch.

From the side.

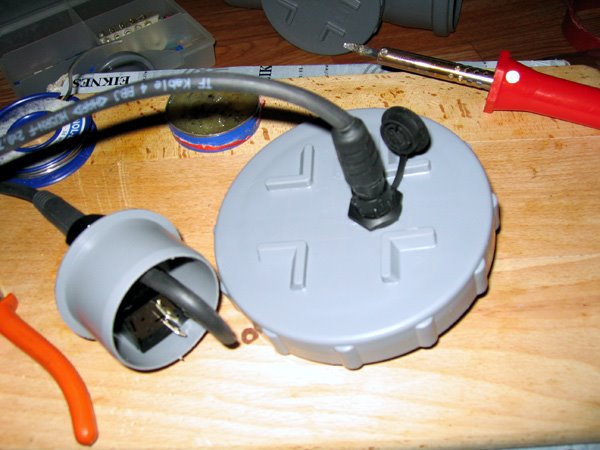
Both parts of the cable... the back of the lamp housing and lid to the canister...

Now all connected...
Next thing I will do is to glue the glass into the housing of the lamp and probably the cable fom the battery plus fit the battery in the canister.
And after that.... Put it together and try it out in the water.... :D
posted by jonas @ 7:52 em
0 comments
![]()

0 Comments:
Skicka en kommentar
<< Home